When beginning a practice of Hatha Yoga, you might get a bit too focused on getting many poses into your repertoire. It‘s already hard enough to remember all those Warriors – let alone to get them perfectly right! While we are not all aiming for perfection, there is certainly wisdom in how the asanas were meant to be practiced. In Hatha Yoga, we use the term ‘alignment’ to describe how to do the pose in the way most beneficial to the body.
Few people are so aware of the benefits of alignment as Rebeca, an Aurovilian physiotherapist and life-long yoga practitioner. As many Aurovilians have a hatha yoga practice, she sees yoga practitioners of all levels and ages in her office. According to her experience, yoga is clearly beneficial, but there are also some common alignment mistakes that can lead to unnecessary pressures and stress on the body.
So how to do it better? We brought Rebeca into our studio for a shoot, where she showed us her top alignment tips.
Tips for Alignment in Common Yoga Poses
Paschimottanasana (Seated Forward Bend)

What we want to avoid….
The Seated Forward Bend can get a bit ambitious, but remember that the point is not to touch your toes! Instead, make sure to apply the following alignment tips:
- Try not to round the spine; instead focus first on keeping the back straight.
- Keep the shoulders away from the ears.
- Keep the belly engaged.
- Push the chest forward – the chest ‘leads’ the movement.
- Don’t worry about getting to the toes at the expense of everything else!
If you manage to apply all this, your Seated Forward Bend should start to look more like this:

Straight spine and engaged torso. 
If you can deepen, bend the elbows.
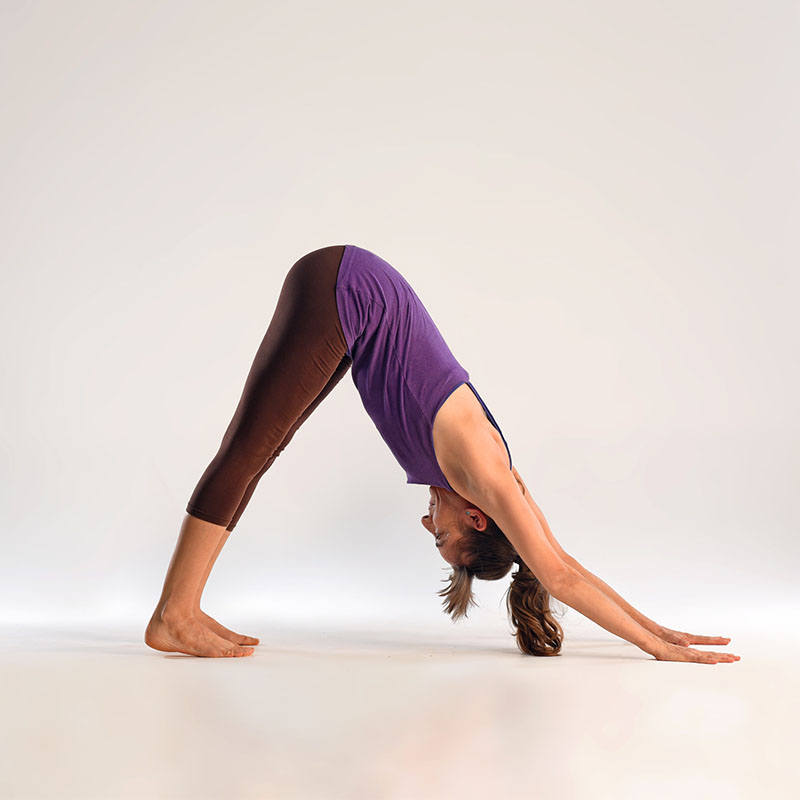
Adho Mukha Shvanasana (Downward Facing Dog)
The famous Downward Facing Dog is pretty hard to get the hang of – and the mistakes can be quite subtle. What you definitely want to watch out for:
- Take care not to overextend the elbows.
- To protect the lower back, try not to arch it. You can help the back to do this by bending the knees a little and tilting the sitting bones up to the ceiling. Only extend the knees over time, as your body becomes more flexible.
- Don’t focus too much on getting the heels on the floor – flexibility comes with time, not with force.
- Distribute your weight evenly on both hands.
- Push the tights back.
Yea 
Nay
Baddhakonasana (Butterfly Pose)
The butterfly pose is great for opening up the hips and also works as a meditation seat.
Things to keep in mind:
- As always, protect your back. No arching!
- Push the chest out and shoulders back.
- Try pressing the elbows into the top of the thighs for a deeper stretch.
- Set the gaze in front – don’t look at your feet.
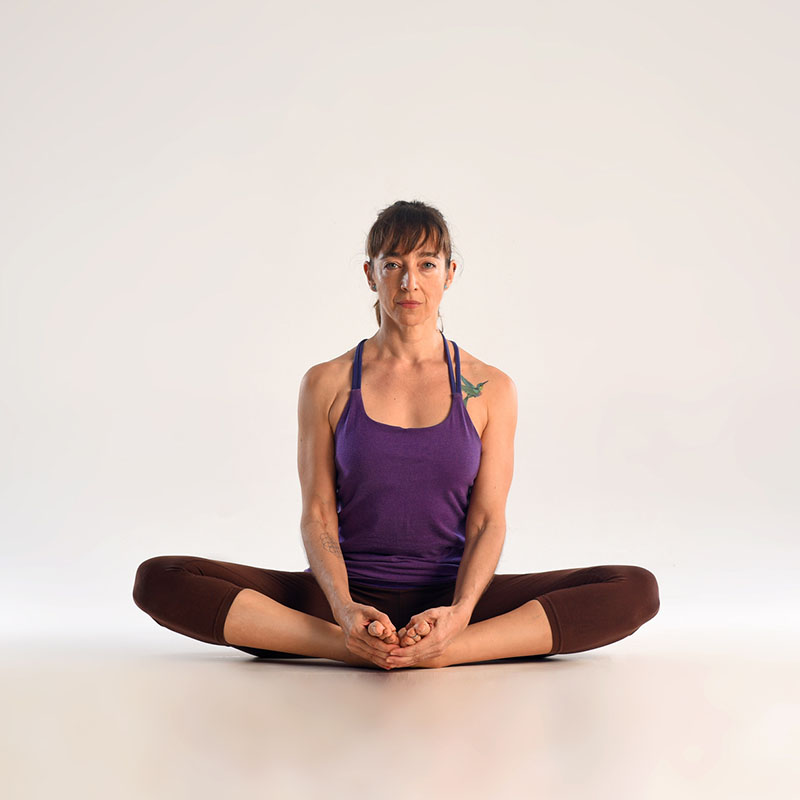
Straight and engaged 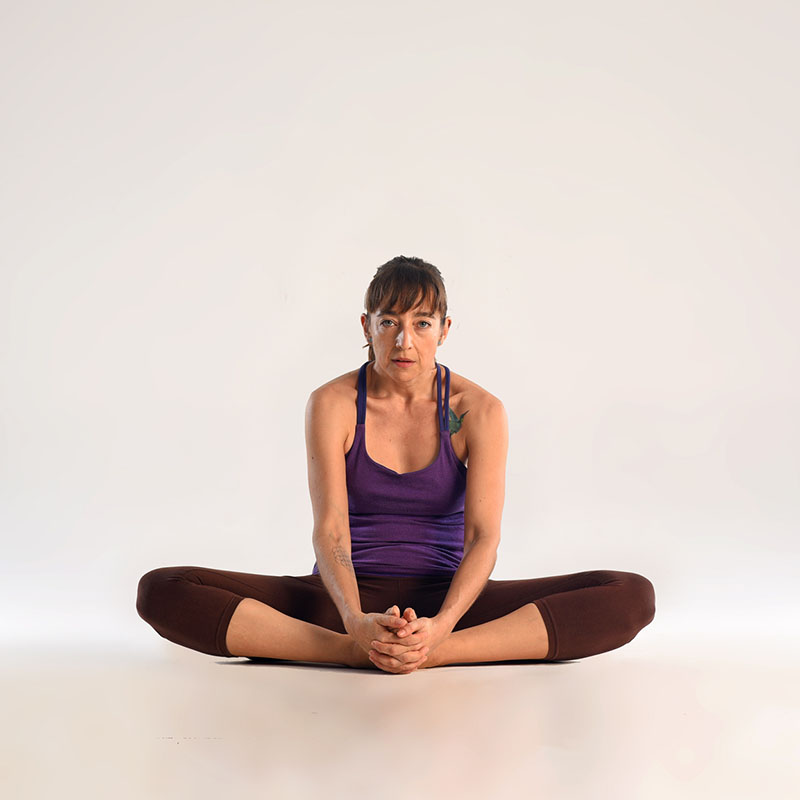
… not like that.
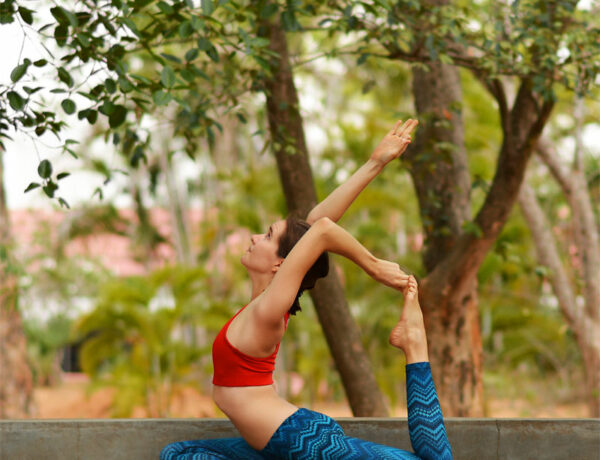
Vriksasana (Tree Pose)
One of the more popular balancing asanas, the goal here is to stand as firm and tall as a tree, but on one instead of two feet. It is said that holy men used to meditate in this pose… For us, we start with trying to hold it for 5 good long breaths!
Things to keep in mind for the Tree Pose:
- Ground your foot without clenching it
- Keep the hips aligned – the tendency is to jut the hip out for balance.
- It helps to actively push the thigh back against the foot.
- Engage the core muscles so you don’t get wobbly.
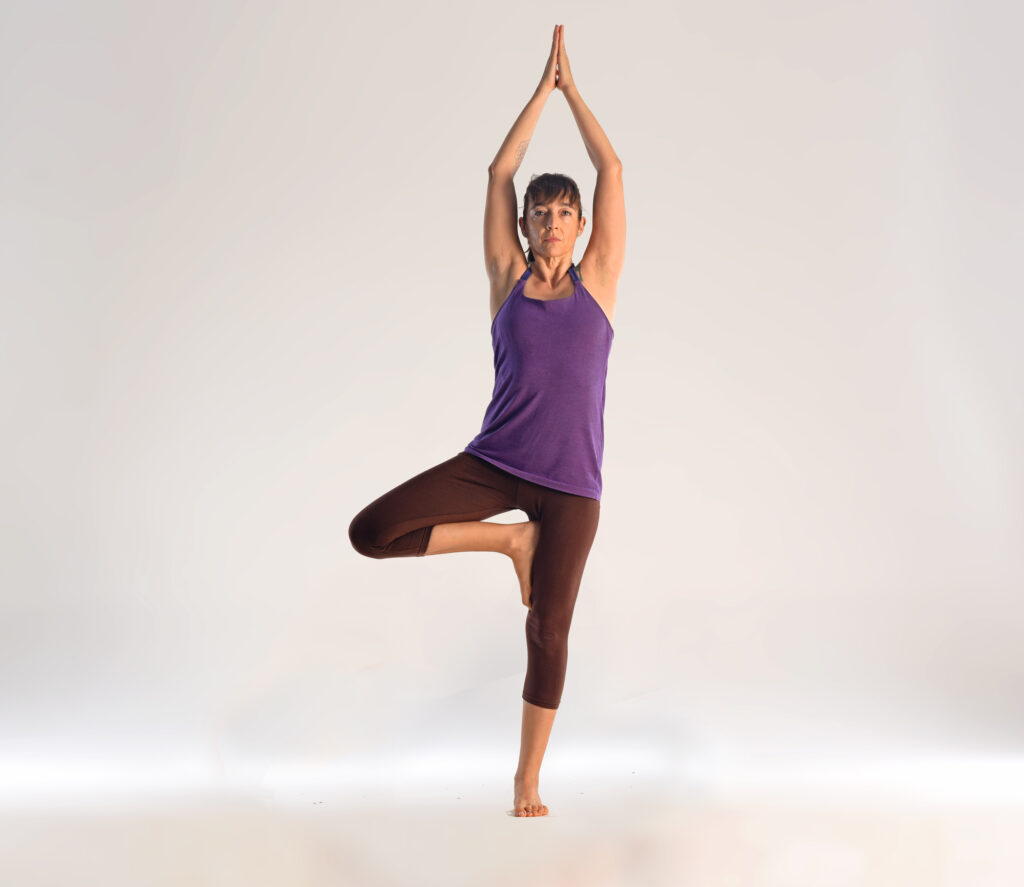
Actual balancing with the hip in line 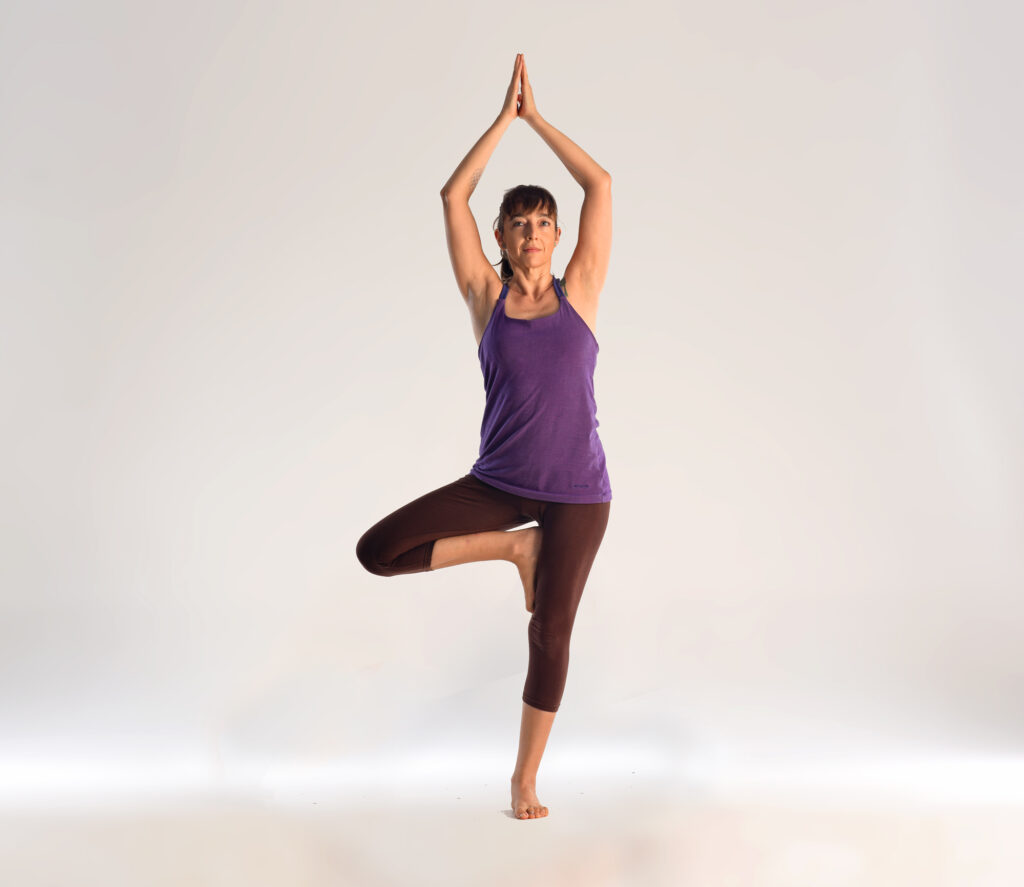
Hip jutted out. More leaning than balancing.
Phalakasana (Plank Pose)
A good way to build up some heat, the Plank Pose is also very popular outside of yoga. Like the Downward Facing Dog, it’s one of those that look much easier than it is – that is, if you want to do it in the way that is best for the body.
When planking, make sure to:
- Actively stretch back through the heels
- Keep the hips in line with the ankles and shoulders – it makes the plank a bit tougher but it brings the weight back to the core instead of only on the arms.
- Engage the core continuously.
- Make sure that your elbows face each other so that you don’t hurt your joints!
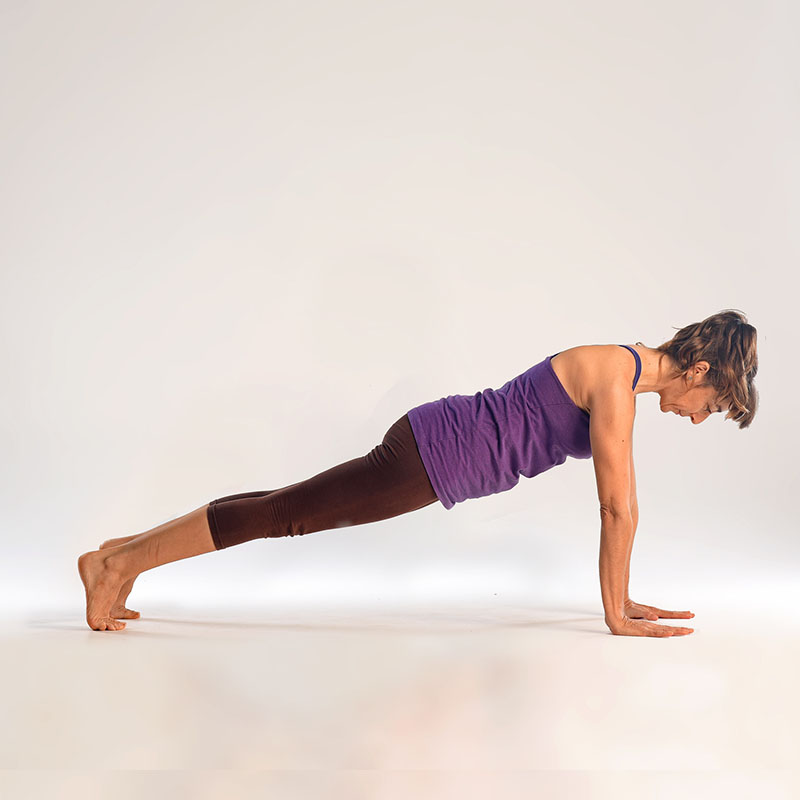
An active stretch creates a line from ankles to shoulders 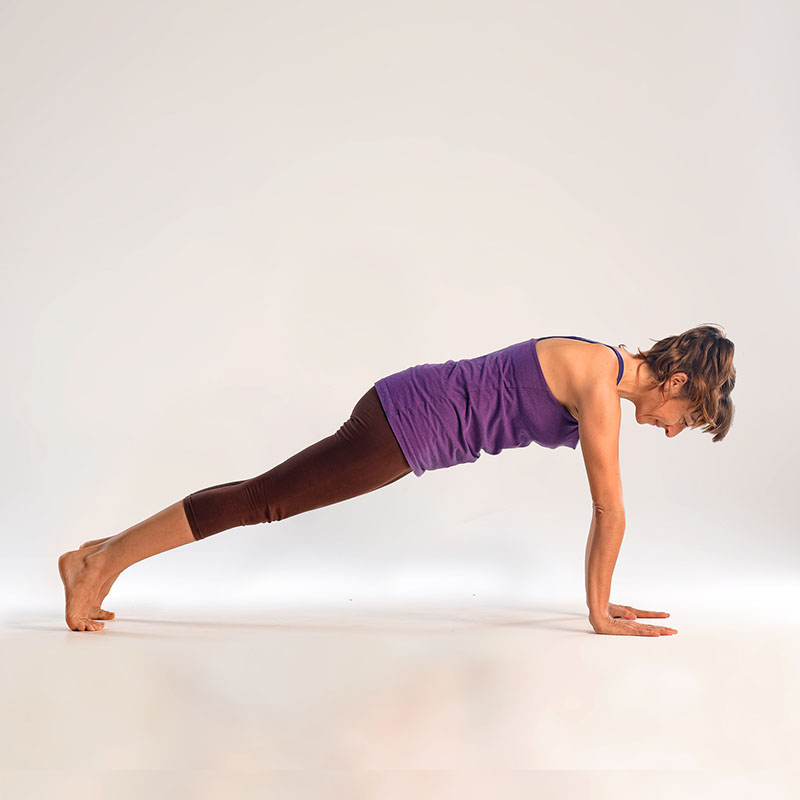
Lack of core engagement tends to make the hips go up
While nothing can replace the active attention of a good teacher, you will definitely be able to feel the changes in your poses when you apply these tips. Alignment often feels like a little a-ha moment in the body, where it recognises the most beneficial form of the pose.
We hope these tips can get you started.
Good luck with your practice!

No Comments